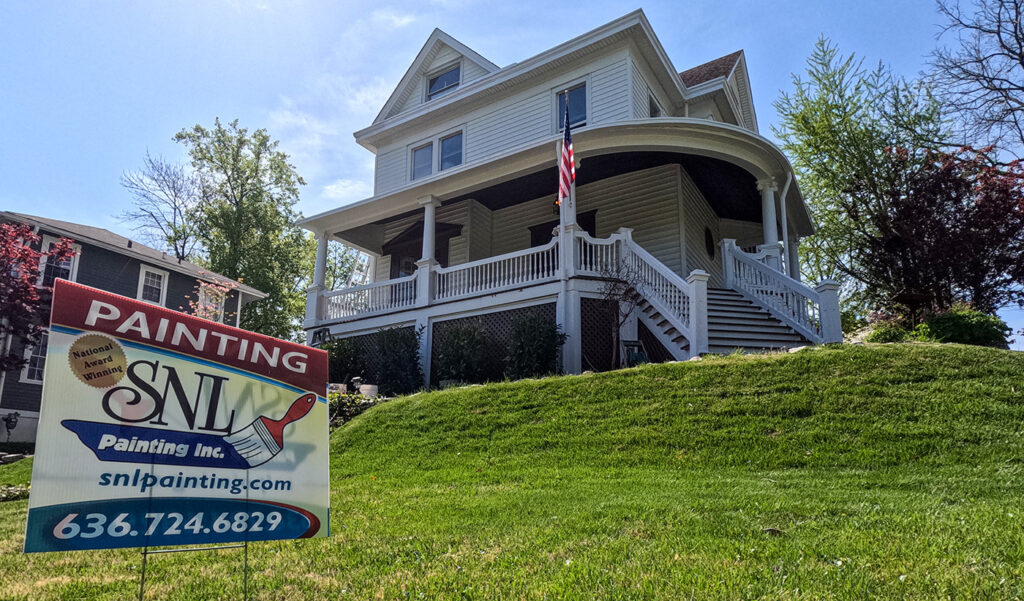
One of the more common questions we hear from homeowners who haven’t worked with a painting contractor before is a simple one: what does the process actually look like? Knowing what’s involved at each stage helps you plan around it, and helps you recognize when a job is being handled correctly.
Here’s how a professional exterior painting project typically unfolds from start to finish.
From Estimate to Scheduled Project
The process starts with a walkthrough of your home’s exterior. A thorough estimate covers the price, as well as an assessment of the surfaces, their current condition, what preparation work is needed, and what products make sense for the project. Surface condition affects scope and timeline more than most homeowners expect, so the walkthrough is worth taking seriously on both sides.
This part of the process is where you as the client can shape how you want the project to go. Sometimes a quick scrape, spot caulk, and one coat of the same color can be applied to freshen up the exterior of your home. Other times, extensive scraping, sanding, surfacing, and carpentry may be needed for a more restorative job. The level of service is up to you and your budget, and communicating that with your estimator is a key part of the process.
After the sales appointment, a detailed estimate will be emailed to you for review, and this is the time to pin down the exact work scope and get final clarifications before accepting the job. After the job is accepted, it’s put into production for scheduling.
Before work begins, we will email you a checklist that covers the practical details: which entry the crew will use, where work is happening each day, how to handle pets, and what to move or clear around the house. It’s a straightforward step that tends to make the project go more smoothly for everyone.
Surface Preparation
Preparation is where most of the time on an exterior project goes, and it’s what determines how long the finished work holds up. On a typical project, the crew will spend the first one to two days—sometimes more depending on the size and condition of the home—on prep before any paint goes on. The level of prep is based on the current conditions of the home and what the desired outcome of the client is. This is discussed at the time of the estimate.
This typically includes:
- Pressure washing the full exterior to remove dirt, chalk, and any loose or failing paint
- Scraping and sanding areas where paint has peeled or is no longer adhering properly
- Caulking gaps around windows, doors, and trim where moisture could get in
- Priming bare wood, repaired areas, and any surfaces that need additional preparation
- Masking and covering windows, doors, fixtures, and landscaping
Skipping or shortcutting these steps is the most common reason exterior paint fails ahead of schedule. A crew that takes prep seriously is generally a good indicator of how the rest of the project will go.
Painting
Once surfaces are properly prepared, painting moves at a steady pace.
Application method depends on the surface and the product. Sprayers cover large flat areas efficiently but require careful masking. Brushes and rollers give more control on trim and detailed work. Most exterior projects use a combination of both.
Depending on the size of the home and the scope of the project, painting typically takes two to four days once prep is complete. Weather also plays a role: paint needs to be applied within certain temperature and humidity ranges to cure properly, so crews monitor conditions and adjust when needed. It’s worth building some flexibility into your expectations around timing for that reason.
The Final Walkthrough
Before the project is closed out, we do a walkthrough of the exterior with the homeowner. This is the time to look closely at trim lines, coverage, and any areas that might need a touch-up. Your contractor should address those items before the job is considered complete.
Touch-up paint is typically left with the homeowner for minor scuffs or repairs down the road.
A Few Practical Notes
The timeline can shift, and weather is the most common reason. A day of rain or temperatures outside the acceptable range for application means the crew can’t work, and that time gets added to the schedule.
Communication is also worth paying attention to when evaluating a contractor. Your crew should be easy to reach, keep you informed of the schedule, and raise anything unexpected, like additional prep work or surface damage that wasn’t visible during the estimate, before proceeding rather than after.
If you’re planning an exterior project in the St. Louis area and want to talk through what it would involve for your home, reach out through our contact form for a free estimate.