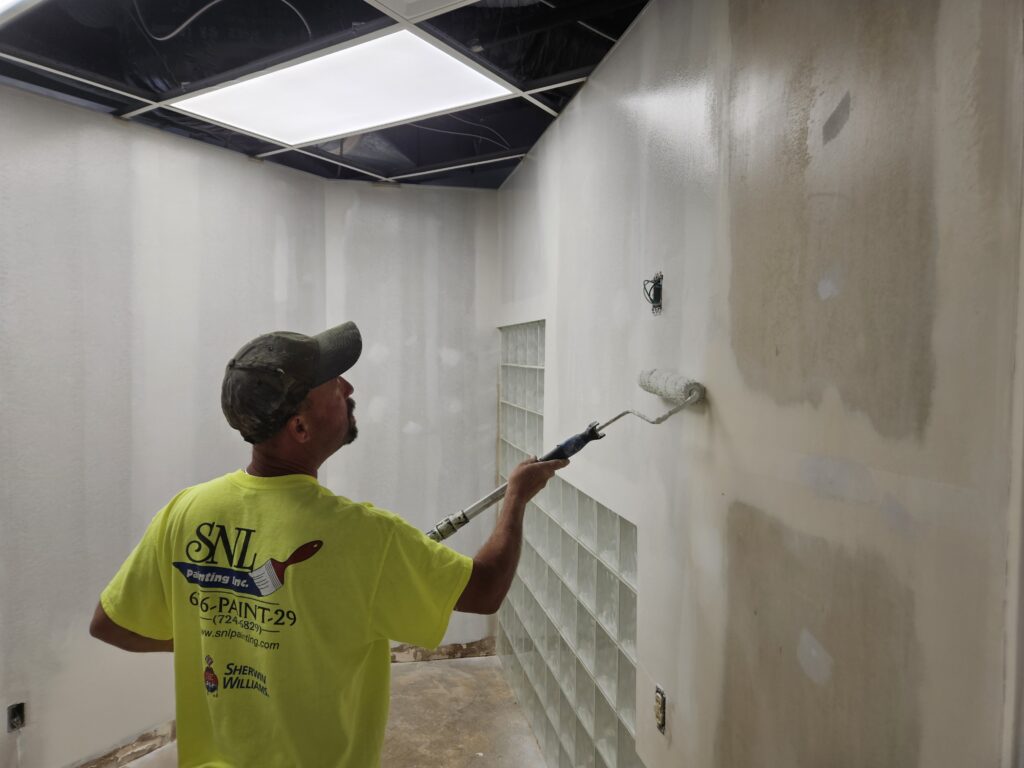
A common question we get from homeowners scheduling an interior project is what they need to do before the crew arrives. The short answer is that we handle most of the preparation on our end, but a few things on the homeowner’s side make the process go more smoothly for everyone.
Here is what to know before an interior painting project gets started.
What We Take Care Of
Before any paint goes on, our crew prepares the surfaces. This includes filling holes and cracks, sanding rough areas, masking trim, fixtures, and adjacent surfaces, and priming where needed. On projects that involve wallpaper removal, that work happens during the prep phase as well.
We provide a checklist before the project starts that covers the specifics for your home, including which entry the crew will use, where we will be working each day, and any details specific to your project. The goal is to make sure there are no surprises on either side once work begins.
Furniture and Personal Items
“You move the light stuff, we’ll move the heavy stuff” is the way we like to explain this part of the process. We ask that personal effects, pictures or wall hangings, knick-knacks, heirlooms, electronics, clothes, and the like be removed prior to our arrival, and then we move, protect, and reset the heavy items as needed.
Custom blinds and draperies may need to be professionally removed and rehung depending on the complexity of them and it’s best to ask your estimator on the initial walk through; they can advise if this is needed.
Moving washing machines and refrigerators is also part of our repertoire (Note: we cannot be held responsible for any damage that occurs to plumbing, electric, leaky refrigerator water lines, or damage to flooring as a result of moving them). We take every precaution, but sometimes despite our best efforts things happen. If this could be problematic, we can paint around these items or you can arrange to have them professionally moved and reset after painting is completed.
For furniture that is particularly heavy, difficult or even impossible to move, letting us know in advance is helpful so we can send the appropriate number of painters. Or at your request, we can paint around those pieces.
Switch plates and outlet covers are removed and reinstalled by our staff. Picture hooks and nails that remain in the wall when we arrive will be left for re-hanging of décor, any holes left from hooks or nails that have been removed prior to our arrival will be filled and sanded.
Floors and Fixtures
We protect floors and fixtures as part of our standard prep process using drop cloths and masking. Hardwood floors, tile, and carpet are all covered before painting begins. Light fixtures, ceiling fans, and other hardware are masked off.
If there are specific items in the space you want us to take extra care around, noting those before work begins is a good way to make sure the crew has that information from the start.
Pets and Children
Interior painting involves fumes, open paint containers, and equipment that is not appropriate for pets or children to be around. Planning for pets and young children to be out of the painting areas during work hours is worth arranging before the project starts. Depending on the size and scope of the project, that may mean keeping them out of specific rooms or out of the home during working hours.
Most interior paints used in residential applications today are low-VOC, which reduces odor and improves air quality during and after painting. Ventilating the space by opening windows where possible during and after the project helps the paint cure and the odor dissipate more quickly.
Scheduling and Access
We confirm our schedule with you before the project begins. For larger projects that run multiple days, we will be in the home each day during those hours until the work is complete.
If there are specific time constraints on your end, scheduling considerations for other tradespeople, or parts of the home that need to remain accessible or off limits during the project, sharing those details at the estimate stage gives us the best opportunity to plan around them.
The Final Walkthrough
When the project is complete, we do a walkthrough of the finished work with the homeowner. This is the time to look closely at every surface, raise any areas that need attention, and confirm the work meets expectations before the job is closed out. Touch-up paint is left with the homeowner for any minor scuffs or repairs that come up after the project is done.
If you are planning an interior project in the St. Louis area, reach out through our contact form for a free estimate. We are happy to walk through what the process looks like for your specific project before anything is committed.