Interior painting is a project that homeowners can choose to take on themselves, whether for enjoyment, pride in accomplishment,or to save a few bucks on professional painting services. Taking on your own one or two room project can also be much quicker than hiring it out and a lot of times with a little effort, those projects come out just fine. But, for larger projects or rooms with wall repair and intensive prep requirements, the results can vary widely. Here’s where things can start to go awry:
Skipping or Rushing Surface Prep
Prep work is where most interior painting projects either succeed or run into problems later. Walls that haven’t been properly cleaned, repaired, or primed don’t hold paint the way they should, and issues that get covered up on day one tend to show through over time. Depending on the existing conditions of your walls, they may require sanding, a bonding primer, stain killer, extensive skimming, crack repair, replicating textures, or sections of the wall or ceiling may need to be removed and replaced if they’re damaged.
The most common prep shortcuts on DIY projects include painting over dirty or greasy surfaces, skipping primer on slick or stained walls, new drywall or repaired areas, and not addressing existing damage before painting. Cracks and holes that are painted over rather than filled will read through the finished coat, and incorrectly repaired cracks will come back in no time. The same applies to texture inconsistencies from previous repairs.
Cleaning walls before painting is also worth doing. Dust, grease, and residue from everyday use all affect adhesion, particularly in kitchens and bathrooms.
Using the Wrong Products for the Space
Not all interior paints perform the same way, and the right product for one room isn’t necessarily the right product for another. High-moisture areas like bathrooms and kitchens have different requirements than a bedroom or living room, and using a standard wall paint in a space that takes a lot of humidity or contact tends to show up in the finish over time.
Sheen level is part of this decision. Flat and matte finishes work well in low-traffic spaces where scrubbability isn’t a priority. Eggshell and satin finishes hold up to cleaning better and are the standard choice for most living areas. Semi-gloss is appropriate for trim, doors, and wet areas where durability matters most.
Paint quality also varies significantly. Lower-cost paints often require more coats to achieve even coverage and tend to hold up less well to cleaning and daily contact over time.
Inadequate Masking and Protection
Floors, trim, fixtures, and adjacent surfaces all need to be properly covered before work starts. Gaps in masking show up in the finished job, and correcting them after the fact takes more time than doing it right initially.
Painter’s tape is effective when applied correctly to a clean, dry surface and removed at the right time. Tape left on too long, applied over dust or residue, or pulled off after the paint has fully hardened can lift the paint underneath or leave adhesive residue. Tape applied loosely or to an unprepared surface tends to let paint bleed through at the edges.
Drop cloths need to cover the full working area, not just the area directly beneath where painting is happening. Paint drips and roller spray travel further than expected, particularly on ceilings.
Cutting In and Rolling Inconsistently
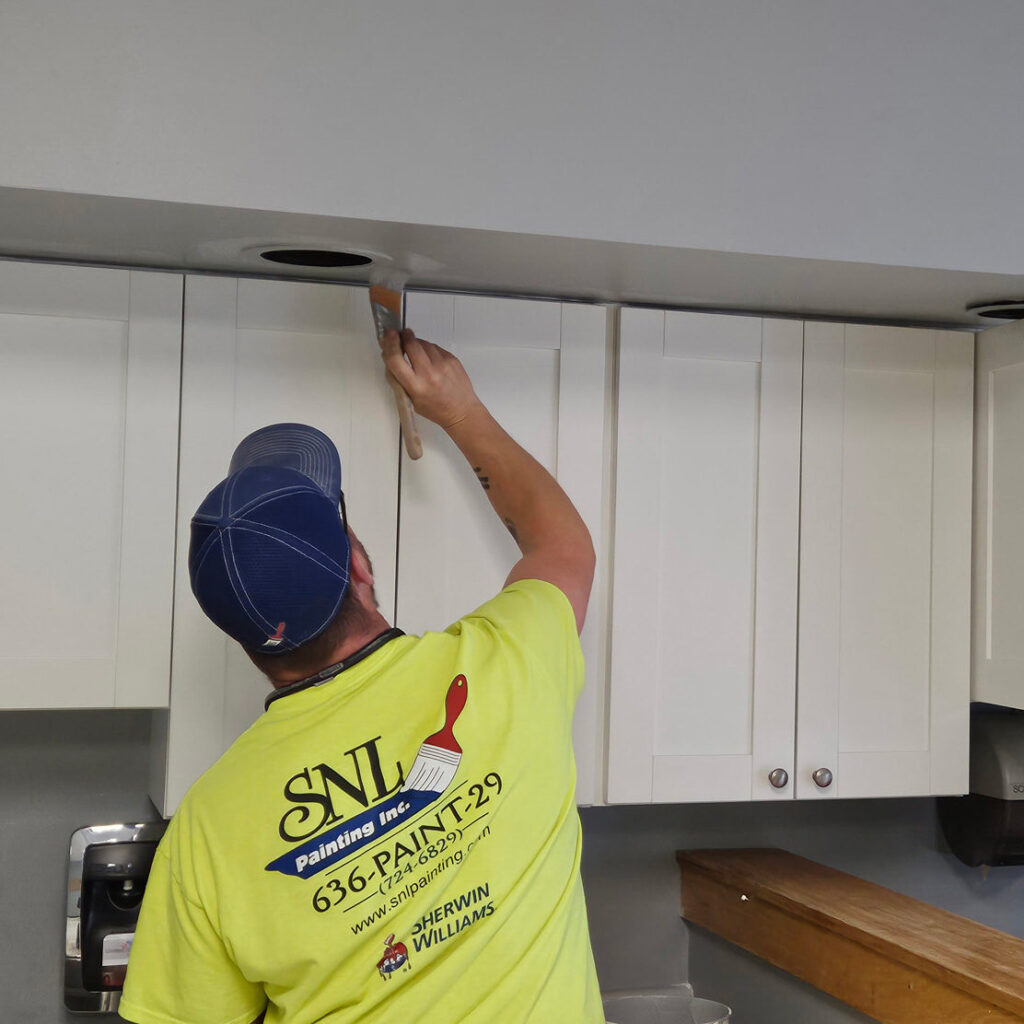
The visible quality of an interior paint job depends largely on how well the cutting-in and rolling work are integrated. Cutting in refers to painting the edges of a wall by hand, along trim, ceilings, and corners, before rolling the main field. When that line is uneven, or when the cut-in and rolled sections dry separately before being blended, the difference in texture is visible in certain lighting.
Rolling technique also affects the finished result. A roller that’s overloaded with paint produces a heavier texture and increases the likelihood of drips. A roller that’s too dry leaves an uneven, stippled finish. Working in consistent sections and maintaining a wet edge throughout the application keeps the finish uniform. Using the wrong roller will also affect how the product applies to the wall and also how the finished product looks…as well as how frustrating it is to get the paint from the bucket or tray onto the wall.
Ceilings are consistently one of the more difficult interior surfaces to paint well, and drips onto walls that have already been painted are one of the more common sources of rework on DIY projects, and using a paint designed for walls instead of ceilings makes it difficult to make the finished product come out with a uniform appearance.
Underestimating the Scope
Interior projects are often larger in practice than they appear at the planning stage. Ceilings, doors, window casings, and baseboard all add surface area and time that’s easy to underestimate before work begins. Product and material quantities are also frequently underestimated, particularly on multi-room projects where sheen levels and surface types vary from room to room.
A professional crew scopes the full project before work starts, which accounts for prep requirements, sequencing, and material needs across the whole job rather than room by room.
For Property Managers and Commercial Spaces
Most of what applies to residential interior painting applies to commercial spaces as well, and the margin for error is smaller when the space is occupied or on a fixed schedule.
Commercial interiors often involve a wider range of surfaces than a typical home. Commercial spaces often share drywall and plaster, but concrete and concrete block, metal, plastic, and factory-finished metal or wood trim may require different preparation and product selection. Painting over a surface without understanding what’s already on it and the desired finished result is one of the more common sources of product performance and adhesion problems on commercial projects.
Scheduling is also a practical consideration. A commercial interior project that runs longer than planned creates disruption for staff, tenants, or customers. Getting the scope right before work starts, and having a crew that can execute efficiently, makes a significant difference in how the project goes.
If you are planning an interior project in the St. Louis area and want to understand what professional preparation and execution involves, reach out through our contact form for a free estimate.